
4. Use-cases
We will now implement all the use-cases mentioned in our original scope.
Institute Onboarding
We will cover the following aspects of institute onboarding
The onboarding process includes:
New Institute
To create a new institute we will use the form view automatically generated by SolidX to create the institute.
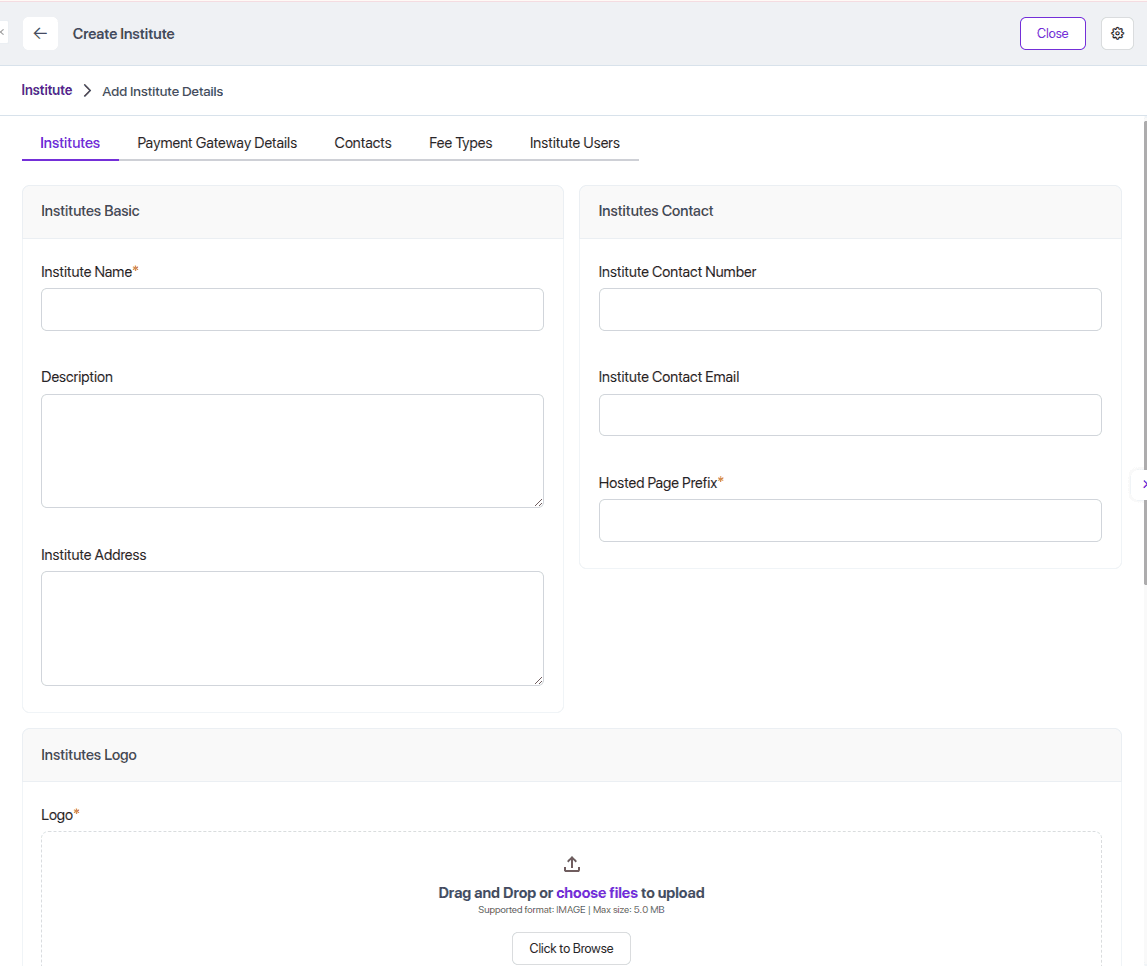
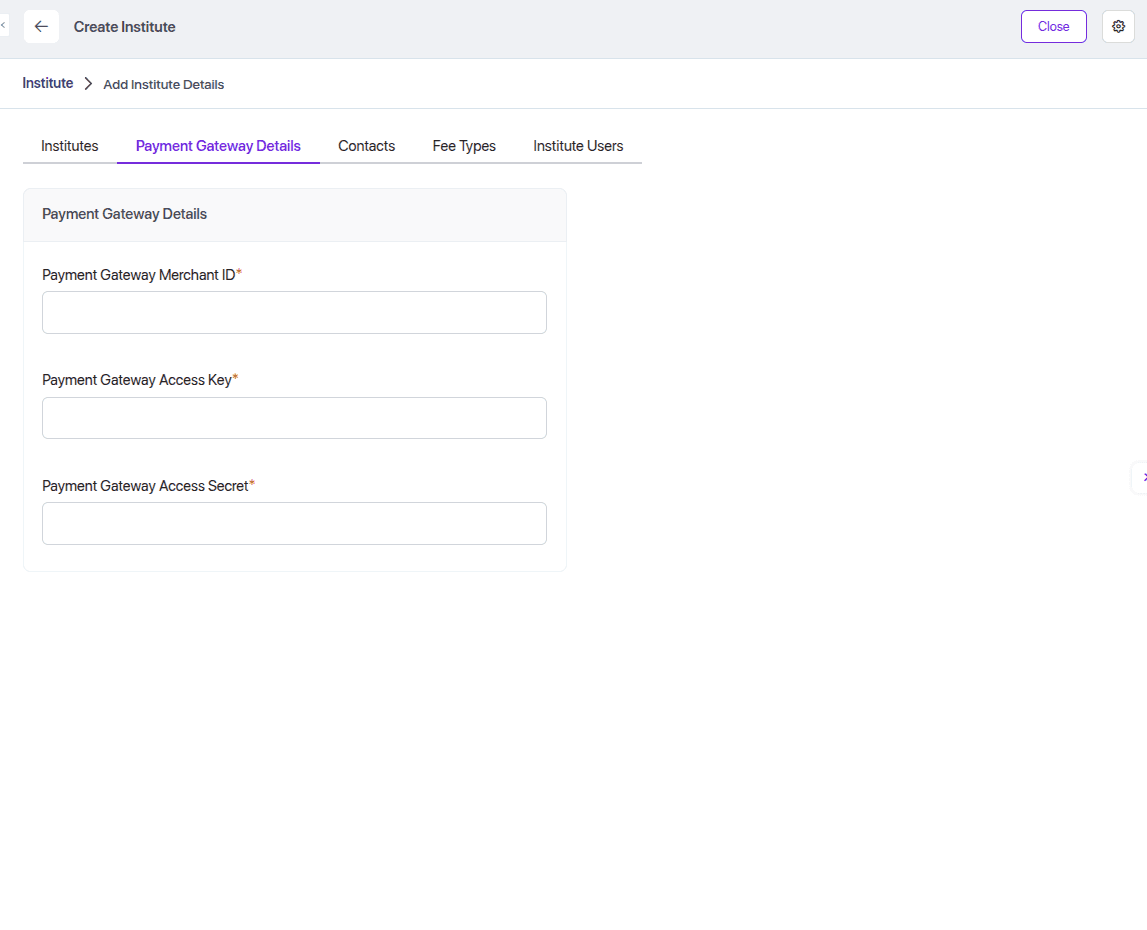
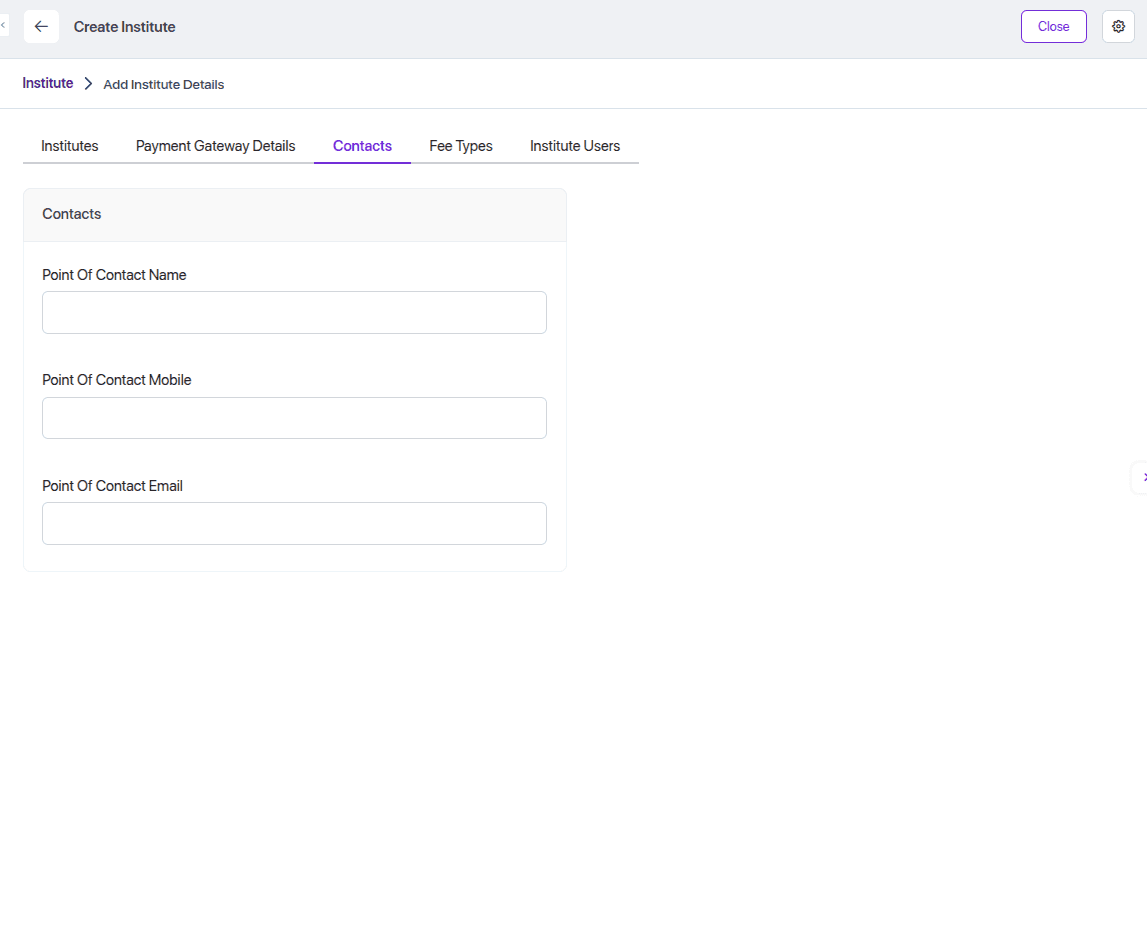
In our tutorial, the Institute model requires uploading various types of media such as logo images, brochures, and intro videos, to manage this we will use SolidX media-provider abstraction.
| Fields | Media Provider |
|---|---|
logo images | Uses the AWS S3 media provider for storing logo files in a cloud bucket |
brochures | Uses the default file system media provider to store brochures locally |
intro videos | Uses the default file system media provider to store video files on the local server |
More details on the SolidX media-provider can be found in the Recipes Documentation ➜
New Institute User
To create a new institute user, we will extend the SolidX User model.
When you extend the institute user model with the SolidX User model, you inherit all the built-in fields from the core user schema, including:
- Full Name
- Mobile Number
- Password
Once extended, you can add your own custom fields specific to your institute user, such as userType, institute.
This allows you to build a user profile tailored to your institute's needs while still leveraging SolidX’s user authentication and management features.
You can check the step-by-step guide to extending the institute user model under the Recipes Documentation ➜.
Once the User entity is extended in your project, if you create a user without specifying a password, SolidX automatically:
- Generates a secure random password.
- Sends an email to the user containing their login credentials.
SolidX contains an abstraction around sending emails that is used to send these emails. More details on how to configure SolidX to send emails you can read this recipe. Recipes Documentation ➜
Fee Types
To define the types of fees applicable to an institute (e.g., Tuition, Bus, Library, Semester 1), We create a customizable Fee Type model. These fee types help categorize charges and are essential for managing institute-specific billing and reporting.
Most important customisation required for fee types is the that each Fee Type (like Tuition, Bus, etc.) is unique per institute. It ensures no duplicate fee types exist within the same institution.
By default in SolidX when you mark a field as unique (and if the model is also soft-delete aware) it generates the following type of code.
@Entity('fees_portal_fee_type')
@Index(["feeType", "deletedTracker"], { unique: true })
export class FeeType extends CommonEntity {
    @Column({ type: "varchar" })
    feeType: string;
    @ManyToOne(() => Institute, { onDelete: "CASCADE", nullable: false })
    @JoinColumn()
    institute: Institute;
}
You can see the @Index decorator generated makes the feeType unique across Institutes, which is not the expected behavior.
With the above change you can see that although SolidX is a low-code platform it also allows developers complete flexibility to make changes as per system requirements.
The institute relation ensures that the fee type is always scoped to a specific institute.
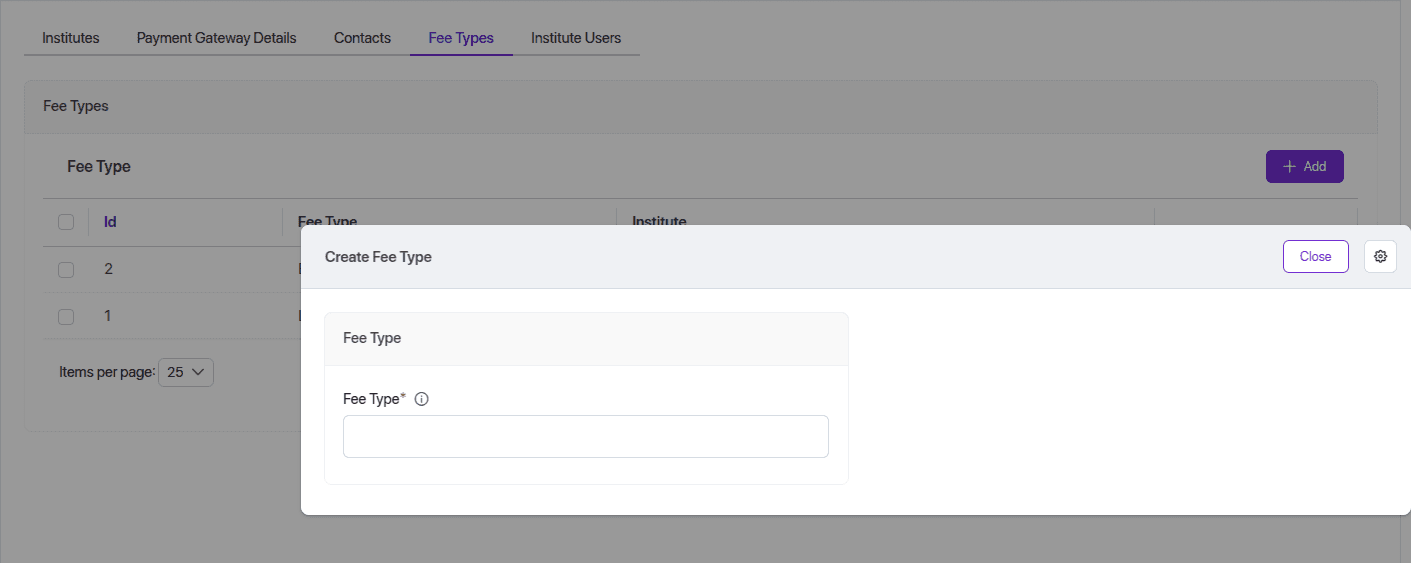
The form view for adding or editing fee types looks like this:
Custom home page for the module
When you create a new module in SolidX, a custom home page is automatically generated for that module.
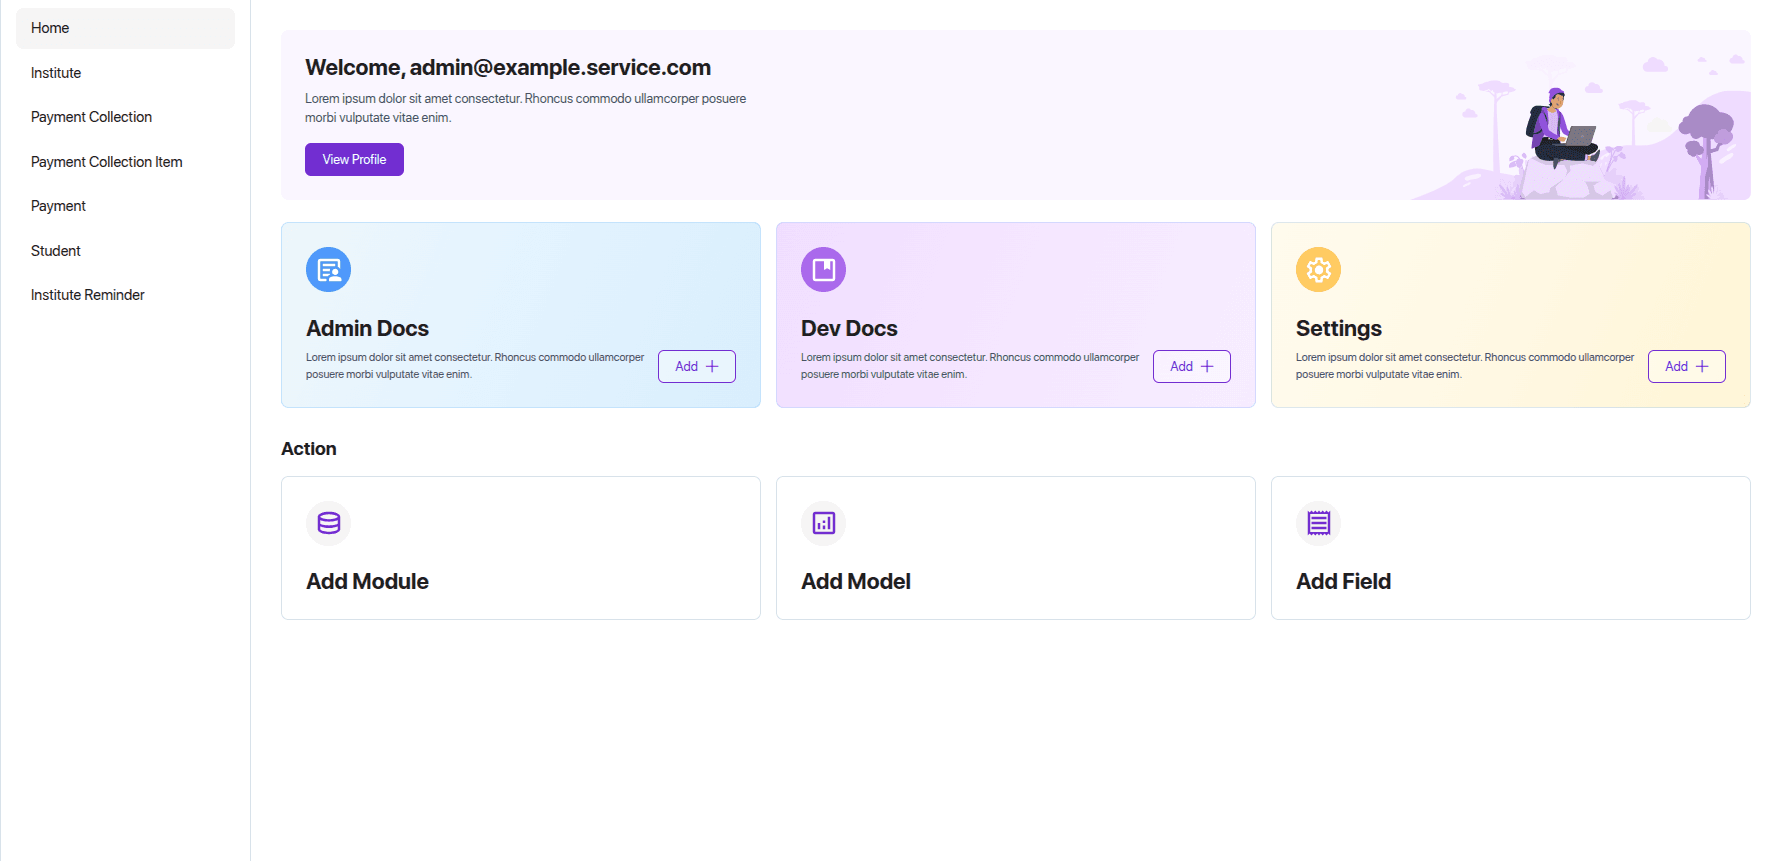
This custom home page acts as a dashboard for the module and provides the following features:
-
A visual overview of the module data (charts, stats, or cards).
-
Quick access buttons to create new entries for the module.
-
Shortcuts to manage Models, Fields, and other module-related configurations. You can access this page from the left-hand sidebar by clicking the module name under that you can se Home. It is designed to help module admins manage and understand their module data at a glance, without needing to manually configure a dashboard.
Computed fields
In SolidX, Computed Fields allow developers to dynamically calculate and assign values to specific fields based on other data in the system. These fields are not filled manually by users; instead, their values are computed automatically during specific entity lifecycle events—like afterInsert, afterUpdate, etc.
SolidX computed fields full implementation you can read this recipe. Recipes Documentation ➜
Subscribers
In SolidX, Subscribers are powerful hooks used to perform custom logic before or after certain operations such as insert, update, or remove on entities. They are ideal for advanced workflows like validation, data transformation, or triggering additional database actions programmatically.
Subscribers are especially useful when you want to extend or override default behavior during entity lifecycle events.
Example: Automating Student Fees Setup on File Upload
In our School Fees Portal, we use a subscriber to automate the process of creating PaymentCollectionItem records whenever a PaymentCollection Excel file is uploaded.
Code Sample Here's a trimmed view of how this subscriber looks:
@EventSubscriber()
@Injectable()
export class MediaTransactionSubscriber implements EntitySubscriberInterface<Media> {
  constructor(
    @InjectDataSource() private readonly dataSource: DataSource,
    @InjectRepository(Student) private readonly studentRepo: Student,
  ) {
    this.dataSource.subscribers.push(this);
  }

  listenTo() {
    return Media;
  }

  async afterInsert(event: InsertEvent<Media>): Promise<void> {
    const media = event.entity;

    if (
      media.modelMetadata.singularName === 'paymentCollection' &&
      media.fieldMetadata.name === 'paymentFile'
    ) {
      // Process the Excel file and generate records
      await this.paymentCollectionTransaction(event);
    }
  }

  private async paymentCollectionTransaction(event: InsertEvent<Media>) {
    // Load file using ExcelJS
    // Parse rows and headers
    // For each row: create or update students, then create fee items
  }
}
Consume the payment file
To simplify and streamline fee collection, we integrates a payment gateway system for students to pay their dues online. The integration works with any gateway and handles the full lifecycle:
-
Student selects dues to pay.
-
System generates a payment link.
-
Student completes payment via gateway.
-
Gateway redirects back to the system with a callback.
-
System updates all related records based on success/failure.
Generating a Payment Link
@Post('payment-gateway')
@Public()
@StudentAuth()
async generatePaymentGateway(@Body() body: GeneratePaymentGatewayDto) {
  const paymentCollectionItemIds = Object.keys(body.amountMap).map(Number);
  const url = await this.service.generatePaymentGatewayLink(
    body.studentId,
    paymentCollectionItemIds,
    body.amountMap,
    body.totalAmount,
  );
  return { url };
}
Handling the Payment Callback
Once the student completes payment on the gateway, the gateway sends a POST callback to your backend.
@Post('/payment-callback')
@Public()
async handleMswipeCallback(@Req() request: Request, @Res() response: Response) {
  const formData = request.body;

  const result = await this.service.handleMswipePaymentCallback({
    mswipeIpgOrderId: formData['OrderID'],
    mswipeIpgPaymentId: formData['PaymentID'],
    mswipeIpgTransId: formData['TransID'],
    mswipeIpgStatus: formData['Status'],
    mswipeIpgInvoiceId: formData['InvoiceID'],
    mswipeEncodedIpgId: formData['En_Ipg_ID'],
  });

  return response.redirect(
    `${process.env.FRONTEND_BASE_URL}/dashboard?paymentStatus=${result.success ? 'success' : 'failed'}&txnId=${formData['TransID']}`,
  );
}
Scheduling Jobs
SolidX provides a flexible mechanism to automate backend tasks using scheduled jobs. These jobs can be configured to run at specific times or intervals and are scoped to specific modules. This is particularly useful for recurring tasks like sending reminders, syncing data, or running cleanup processes.
Create a Scheduled Job
-
Go to the SolidX module (admin panel).
-
In the left-hand menu, expand “Other”.
-
Click on “Scheduled Job”.
-
Click “Create Scheduled Job”.
-
Fill in the Job Details:
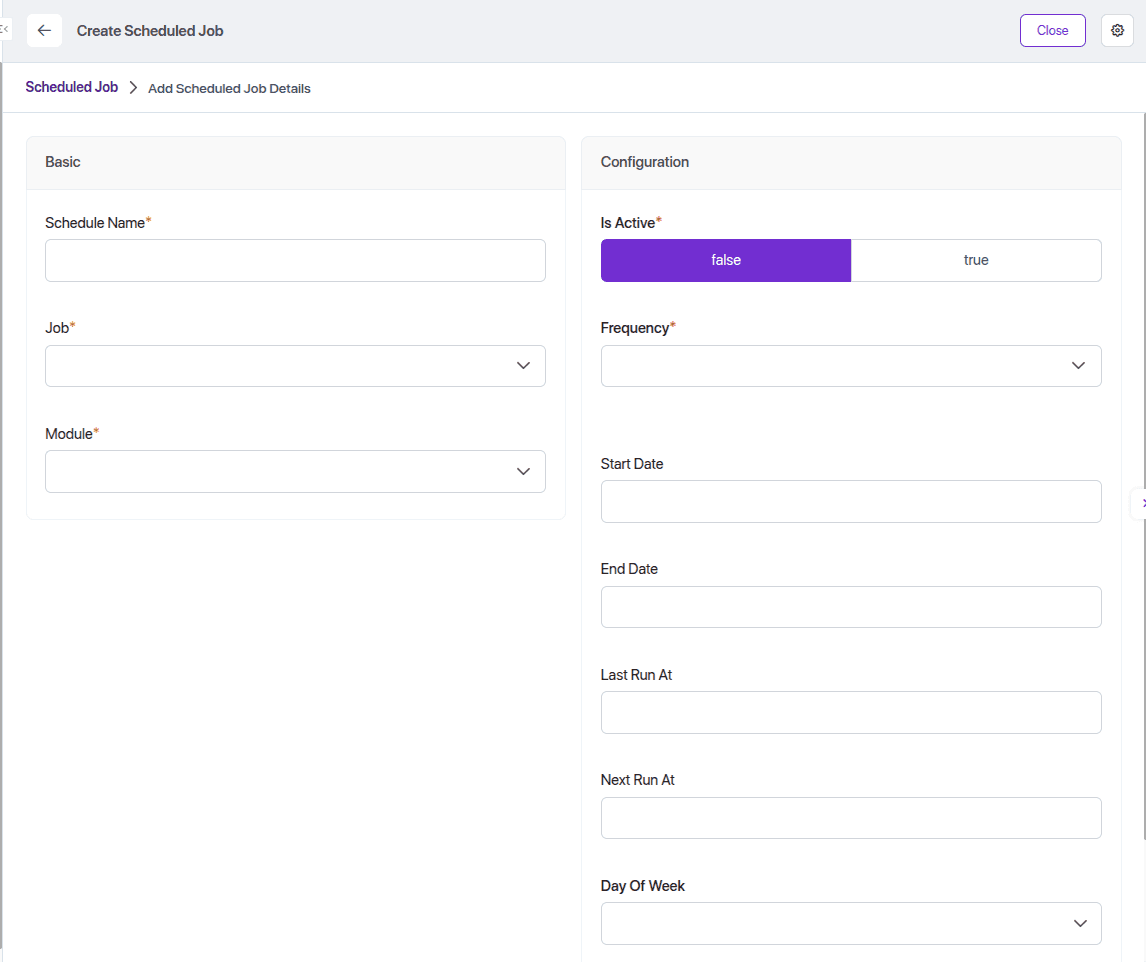
Code Sample Here's a trimmed view of how this scheduled job looks:
import { Injectable, Logger } from '@nestjs/common';
import { IScheduledJob, ScheduledJob, ScheduledJobProvider } from '@solidstarters/solid-core';

@Injectable()
@ScheduledJobProvider()
export class HelloWorldJobService implements IScheduledJob {
  private readonly logger = new Logger(HelloWorldJobService.name);

  async execute(reminder: ScheduledJob): Promise<void> {
    this.logger.log(`Hello from job: ${reminder.job}`);
    this.logger.log(`Reminder Name: ${reminder.scheduleName}, ID: ${reminder.id}`);
  }
}
SolidX Handler
SolidX Handlers are a powerful way to customize, extend, or override functionality in the SolidX UI. They allow developers to inject logic or custom behavior into form view fields, list views, table actions, or even page-level features — making them ideal for dynamic form rendering, custom validations, or workflow logic tailored to your business needs.
These handlers are part of the SolidX extension system, which makes the UI highly flexible and modular without modifying the core codebase.
For full implementation you can read this recipe. Recipes Documentation ➜