
1. Create Solid App
In this step, we'll initialize a new SolidX project using the official starter CLI.
SolidX provides a powerful CLI tool to scaffold a full-stack multi-tenant SaaS application with a backend API and frontend UI, pre-wired for PostgreSQL, authentication, and data modeling.
We will use the following command to create a new project:
Create Solid App
npx @solidstarters/create-solid-appWhen you run this command, the CLI will guide you through a series of prompts. Here's an example interaction:
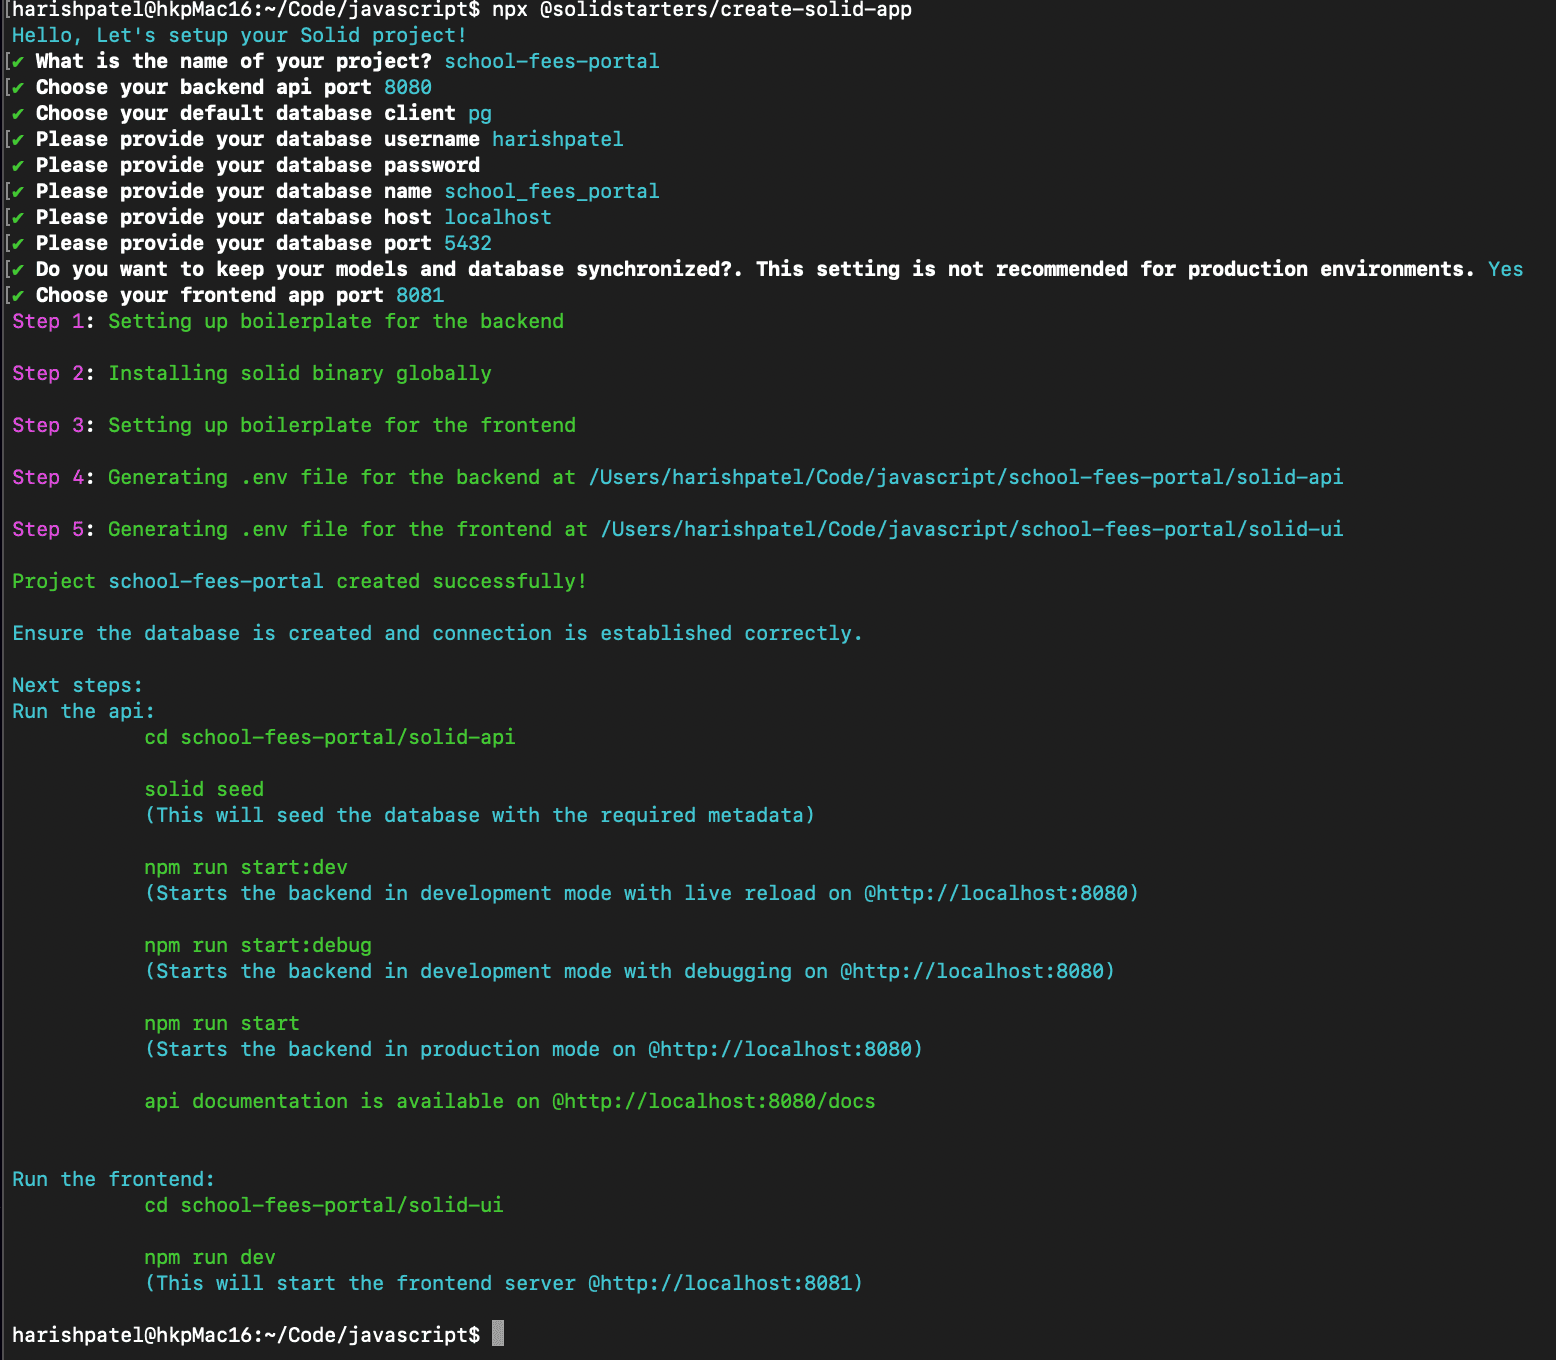
Setup Prompts
| Prompt | Description |
|---|---|
| Project Name | Name of your SolidX project. This will be the folder name where your codebase is generated. |
| Backend API Port | The port number on which the backend API will run locally (e.g., 8080). |
| Database Client | The database type you want to use. Currently supports pg and mysql (PostgreSQL). |
| Database Username | Your local database username for connecting to the database. |
| Database Password | Password for the above database user. Entered securely in the terminal. |
| Database Name | Name of the database to be used for this project. Make sure that you have created this database on your local database server previously. |
| Database Host | Hostname of your database server. Typically localhost for local development. |
| Database Port | Port on which the database is running. PostgreSQL defaults to 5432. |
| Sync Models with Database | Allows auto-syncing database schema with model definitions. Not recommended for production, but useful during development. |
| Frontend App Port | The port on which the frontend app will run locally (e.g., 8081). |
Once you answer these prompts, the CLI performs the following setup steps:
What the CLI Does 1. Sets up boilerplate for the backend 2. Installs the Solid CLI binary globally 3. Sets up boilerplate for the frontend 4. Generates .env files for both backend and frontend: • /school-fees-portal/solid-api/.env • /school-fees-portal/solid-ui/.env 5. Displays helpful next steps for running your app
Output
Once the above CLI runs a new SolidX project is bootstrapped, SolidX generates both a backend & frontend scaffold.
Please make sure to run the
solid seedcommand below, as this is what will seed the local database with all the tables required for SolidX to run properly.
After you run
solid seeda default admin user will be configured the password of which will be printed on the terminal. Please make a note of this as this will not appear again.
Backend
cd school-fees-portal/solid-api

# Seed the database with initial metadata
solid seed

# Start backend in development mode
npm run start:dev

# Optionally, run with debug mode
npm run start:debug

# Run in production mode
npm run start
SolidX backend allows you to generate all your REST API endpoints and comes pre-configured with Swagger documentation which you can access here - http://localhost:8080/docs
Frontend
cd school-fees-portal/solid-ui

# Start the frontend UI
npm run dev
Frontend App will run at: http://localhost:8081
💡 Pro Tip: Make sure your PostgreSQL database is running and accessible with the credentials you provided during the setup.
Ready to move on? In the next step, we'll start modeling our multi-tenant data structure and begin implementing institution onboarding.
Generated Code
At this point you will have a folder called "school-fees-portal" in your working directory, you can open this in VS Code.
Under this folder you will see 2 folders
- solid-api
- solid-ui
Under each you will see a .env file has been configured based on the answers to the prompts that you have provided.
TODO: More details on the generated folder structure and files generated can be found in the Developer Documentation ➜