
Institute Admin
This section covers the primary workflows for an institute's administrative user, from creation to logging in and managing users to initiating payments and handling cancellations.
Pre-requisite This guide assumes you have the necessary data models configured, including a one-to-many relationship between
InstituteandInstituteUser, whereInstituteUseris a child of the mainUsertable.
1. Add Institute Users
Once an institute is created, the Super Admin or an Institute Admin can add other users to manage the institute's operations. These users are assigned roles that grant them specific permissions, such as initiating payments, managing student records, or viewing transaction reports.
There are two ways to add institute users:
- With Password: The admin sets an initial password for the user, which they can use to log in immediately.
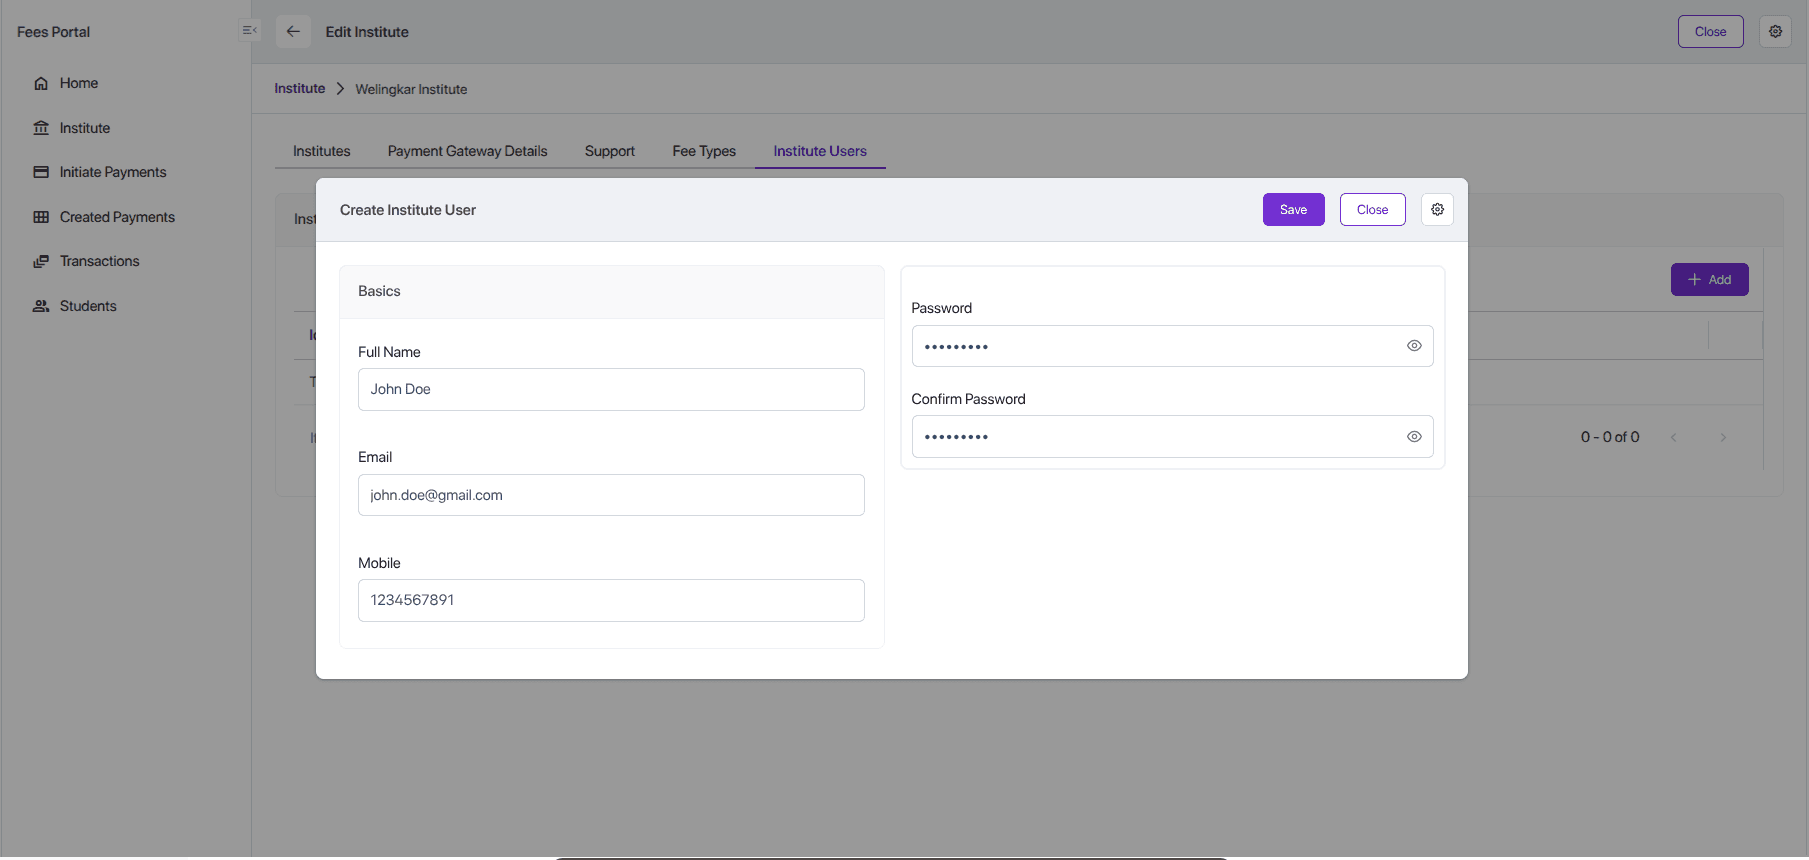
- Without Password:
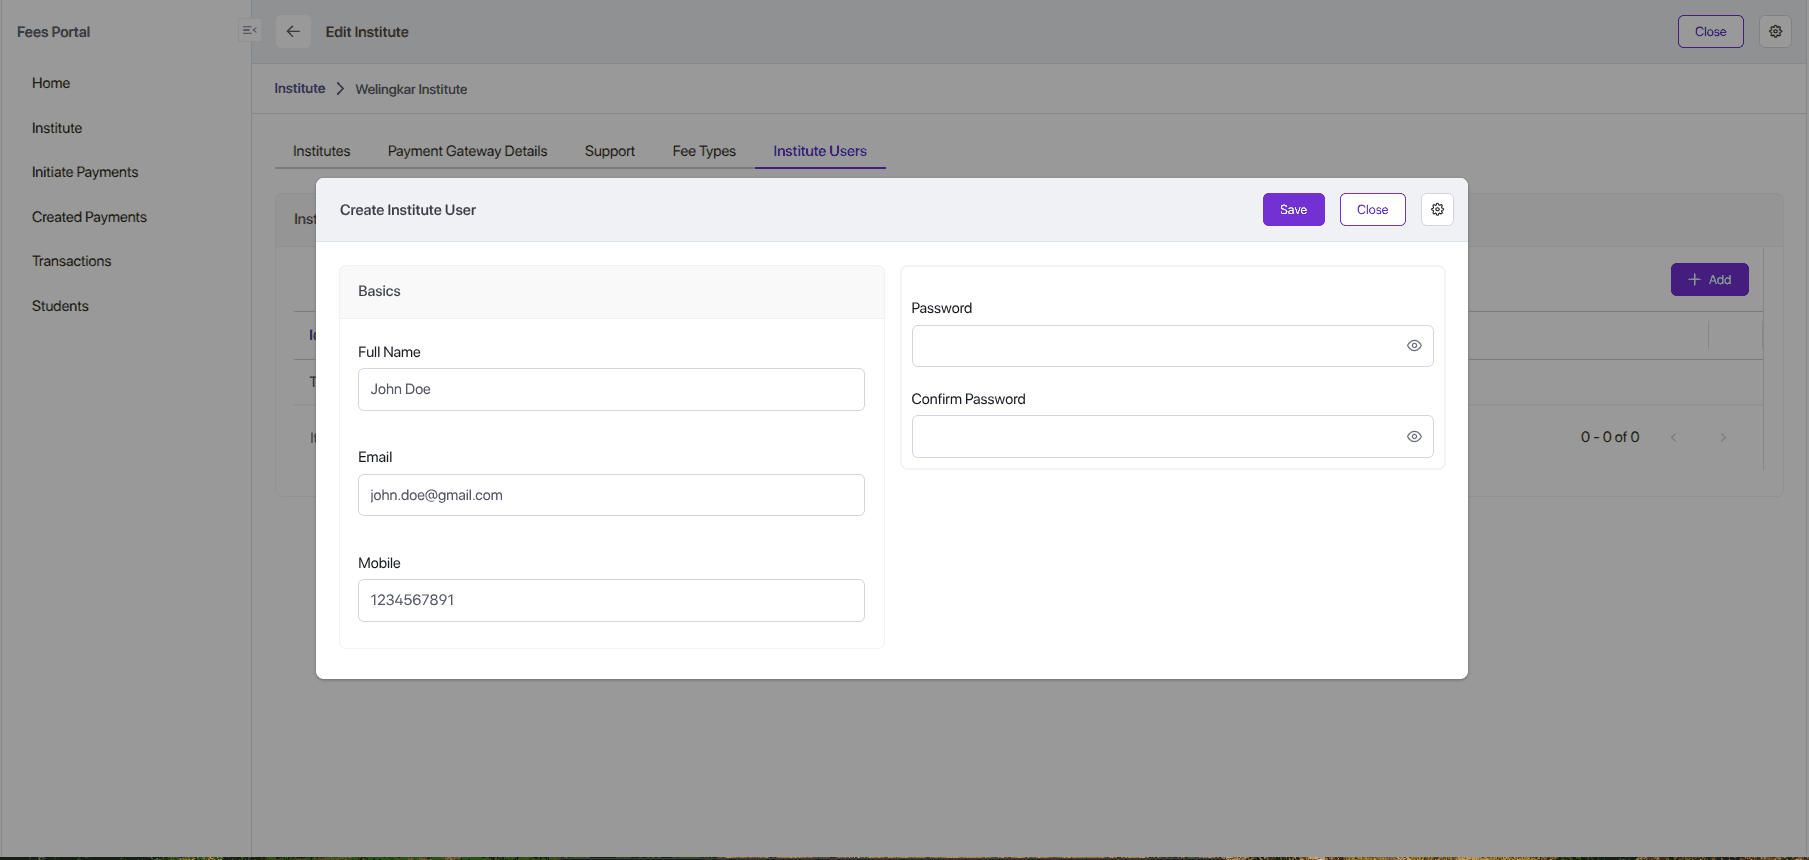
2. Institute User Login and Access Control
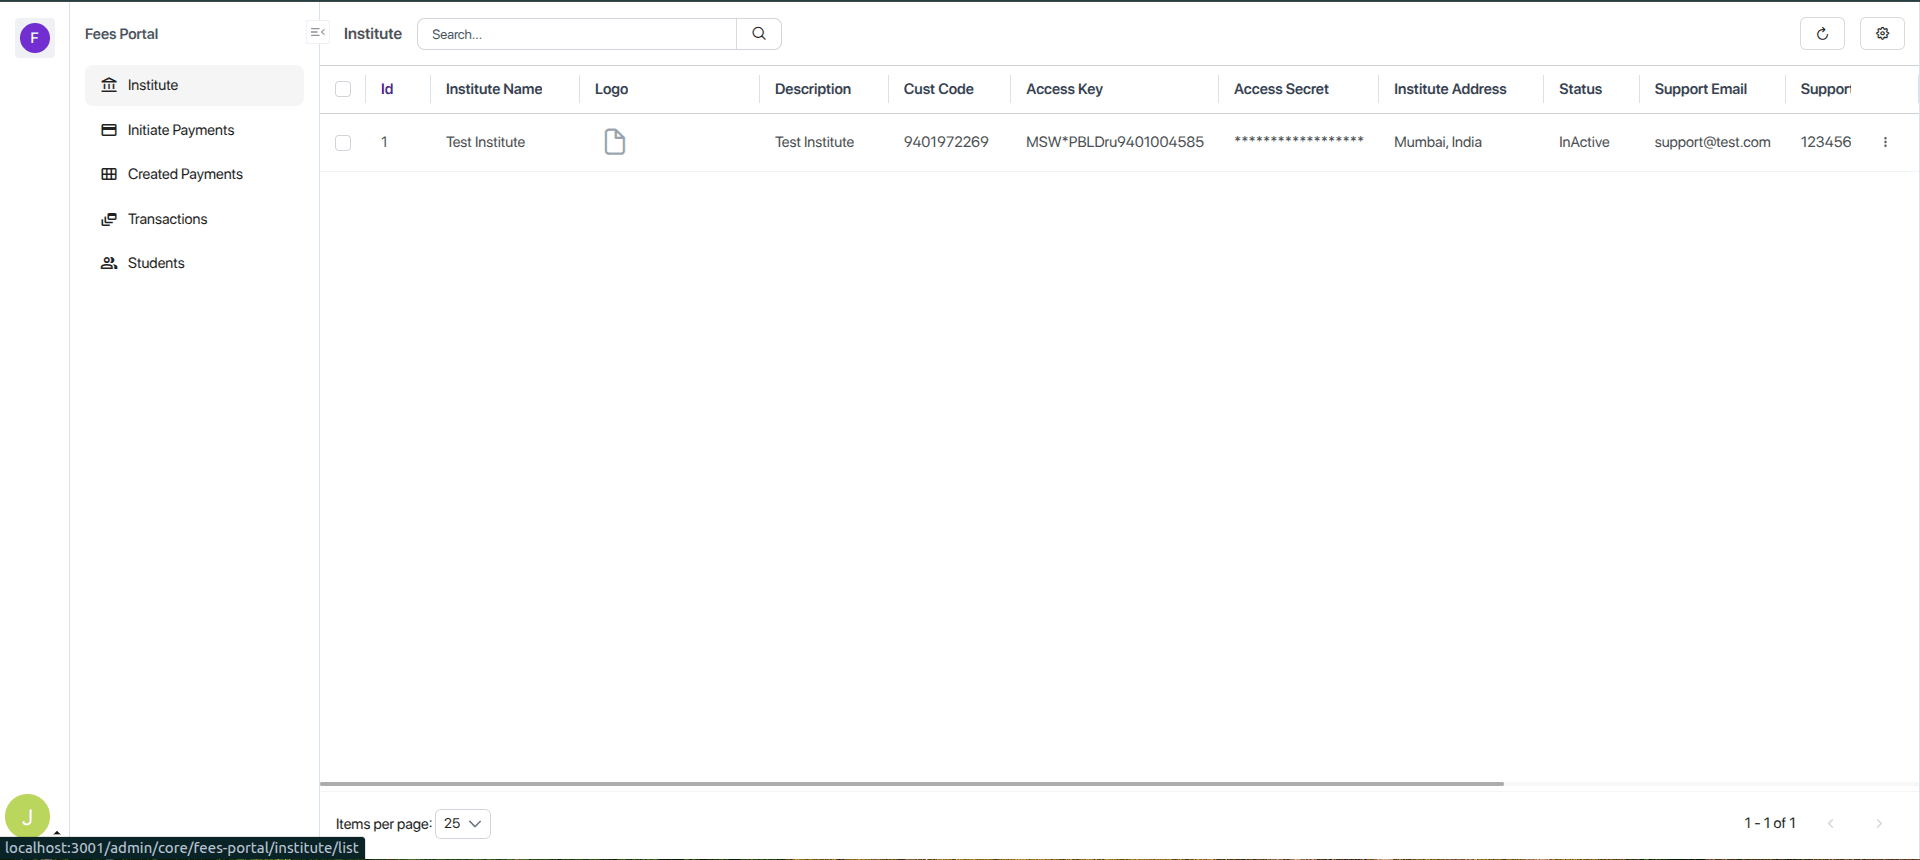
An InstituteUser is a user who belongs to a specific institute. Their access must be strictly limited to their own institute's data. When an institute user logs in, they should only see the students, fee structures, and payment records associated with their institute.
After a successful login, the user is redirected to the institute's dashboard.
The Magic of Security Record Rules
SolidX achieves this data isolation not by writing complex queries in every service, but by using Security Record Rules. These are powerful, metadata-driven rules that automatically filter data for a user based on their role and relationships.
Example Rule:
- Goal: An Institute Admin should only see records from their own institute.
- Rule Logic: "For a user with the 'Institute Admin' role, when they query for any model that has a relation with
institute, only return the records where theinstitutefield matches theinstitutefield of the logged-in user's ownInstituteUserrecord."
Explaining the Security Rule Snippet
  "securityRules": [
    {
      "name": "institute",
      "description": "Show institute associated with the user",
      "roleUserKey": "Institute Admin",
      "modelMetadataUserKey": "institute",
      "securityRuleConfig": {
        "filters": {
          "instituteUsers": {
            "id": {
              "$eq": "$activeUserId"
            }
          }
        }
      }
    }
  ]
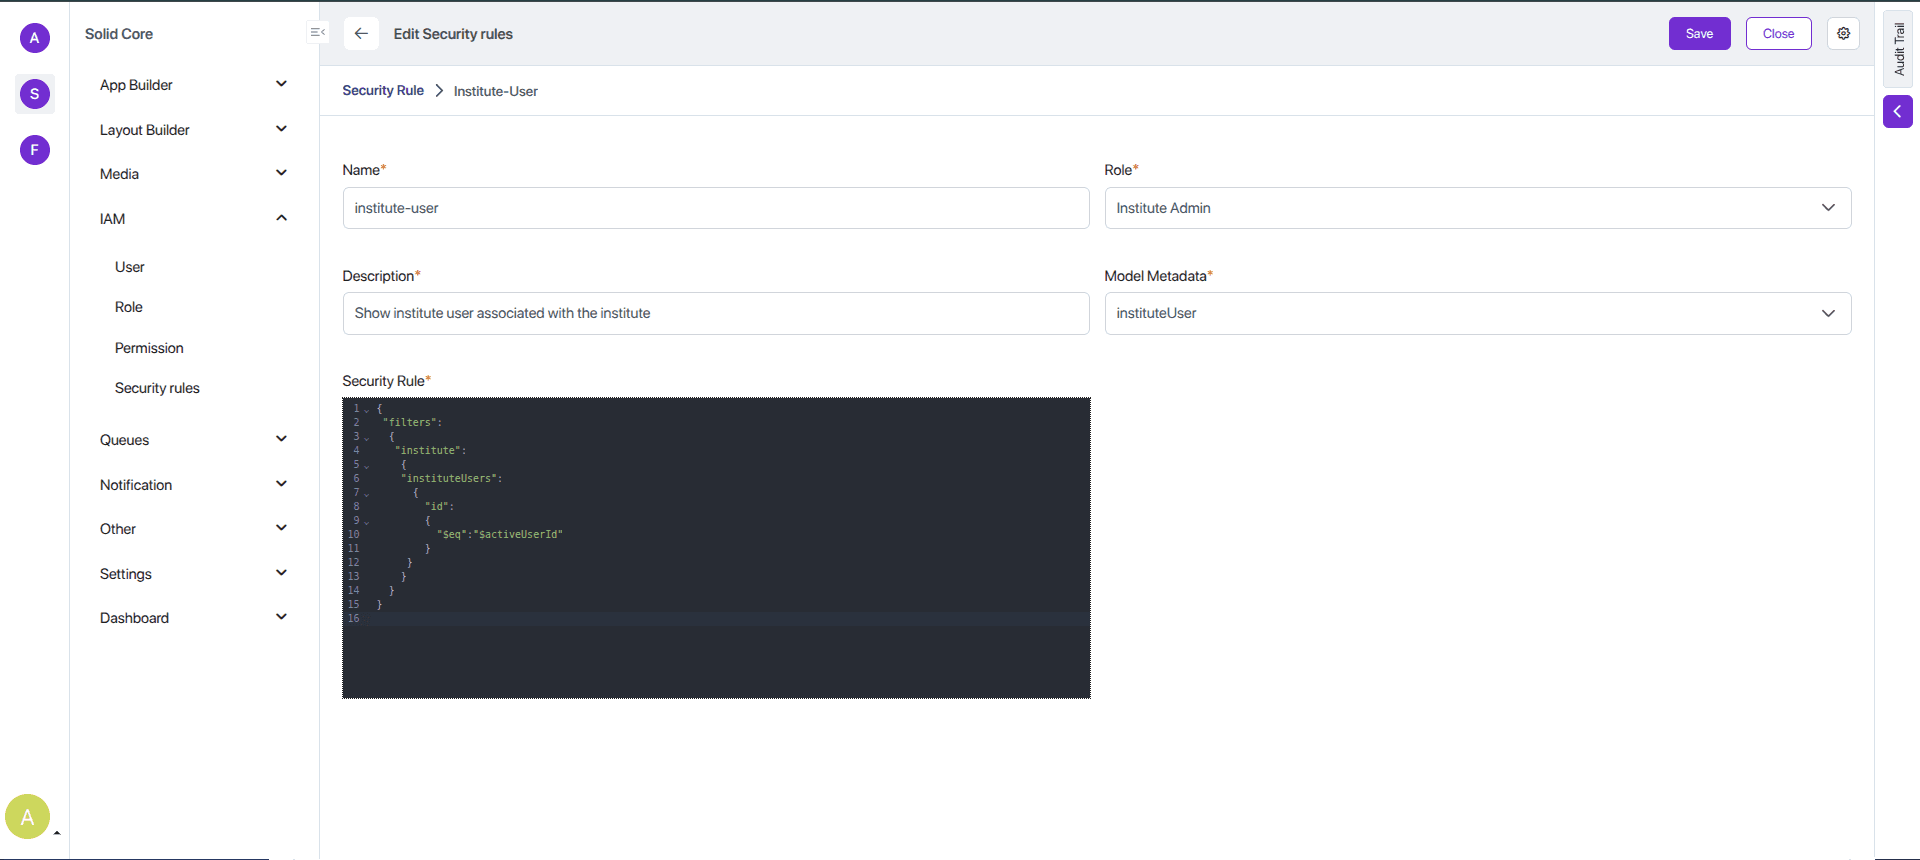
"roleUserKey": "Institute Admin": This rule applies only to users with the "Institute Admin" role."modelMetadataUserKey": "institute": This rule will apply to any data model that has a field named "institute"."securityRuleConfig": This defines the filter logic."filters": { "instituteUsers": { "id": { "$eq": "$activeUserId" } } }: This is the core of the rule. It filters theinstituteUserstable to find the record matching the currently logged-in user ($activeUserId). SolidX then uses this to identify the user's institute and applies it as a filter to all queries on models with aninstitutefield.
To configure security rule, Go to Solid Core > IAM > Security Rules section of the admin panel. After that, every query, API call, and list view is automatically and securely filtered.
Next, we will explore how an institute user can initiate single or bulk payments (via Excel), cancel payments, and configure scheduled auto-reminders (daily, weekly, monthly, etc.).